hello world!

Winter brings the challenge of icy surfaces, posing risks to safety and mobility. That's why applying de-icers is key for preventing slips and falls on your property. This guide provides you with step-by-step instructions on how to use de-icers effectively, keeping your paths clear for a safe and happy winter.
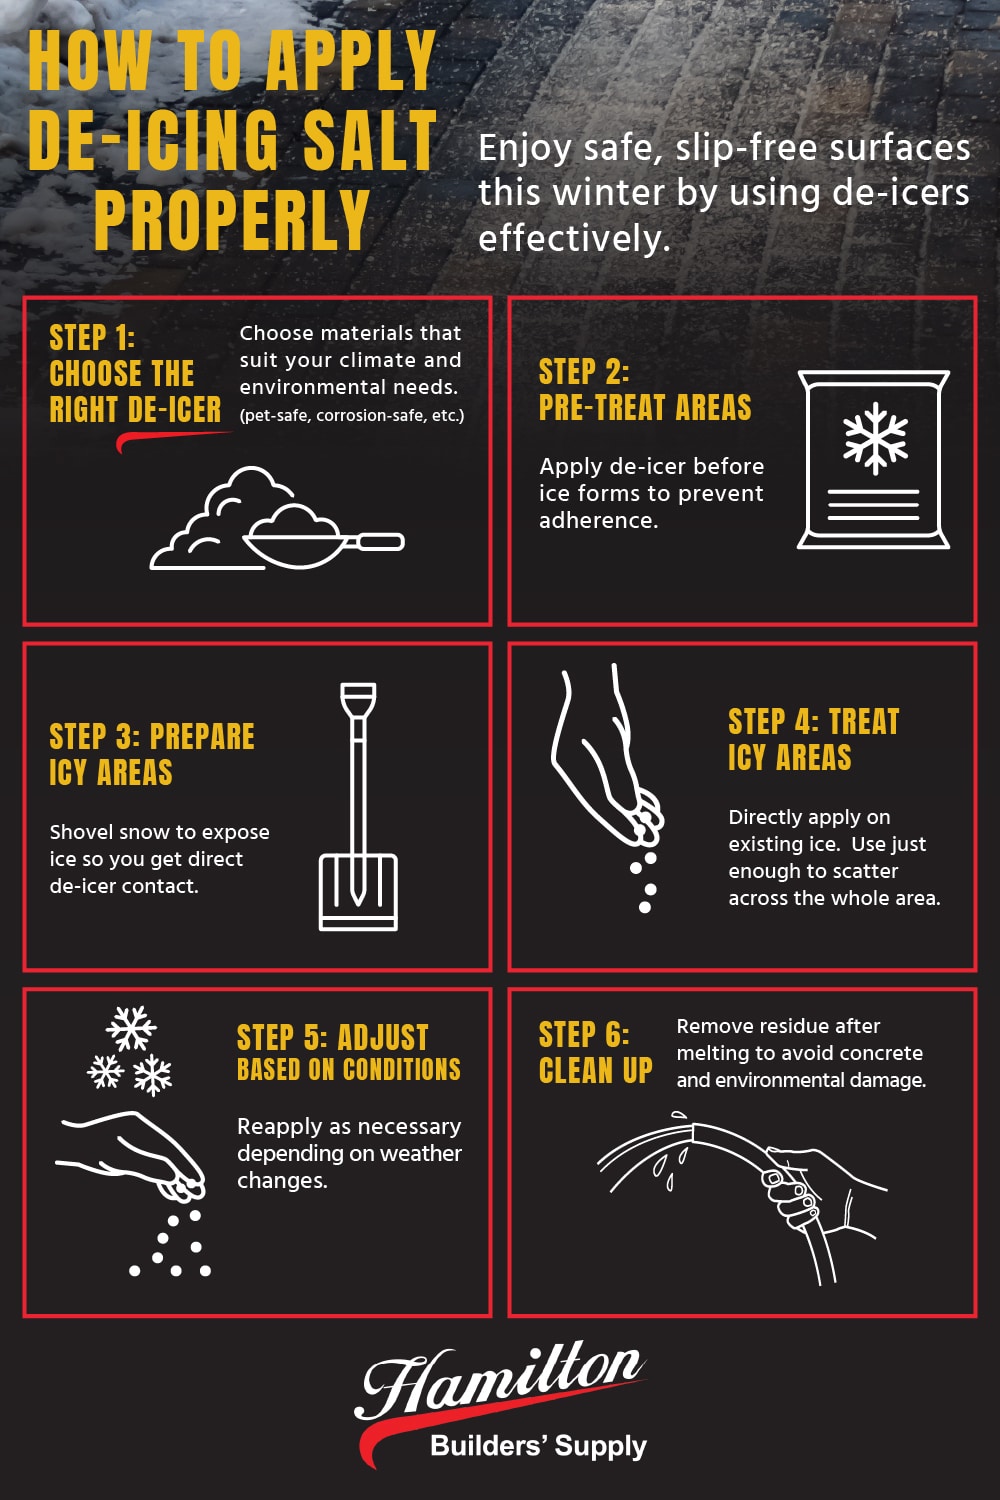
Consider factors such as the typical temperature range in your area, the types of surfaces you'll be treating, and the surrounding environment. De-icers like calcium chloride and magnesium chloride work well in lower temperatures and are less harmful to vegetation than traditional rock salt. Eco-friendly alternatives, such as calcium magnesium acetate (CMA), offer effective de-icing without the negative environmental effects associated with more traditional options.
Before applying any de-icer, it's essential to shovel snow to expose the ice beneath. This ensures the de-icer can directly contact the ice, increasing its effectiveness. Additionally, check the weather forecast to avoid applying de-icer immediately before a heavy snowfall, which can render your efforts less effective.

Applying a de-icer before ice forms can prevent ice from bonding to surfaces, making it easier to manage once the snow starts falling. Spread the de-icer evenly across high-traffic areas using a handheld or walk-behind spreader. This proactive approach can significantly reduce the amount of de-icer needed and minimize the risk of ice formation.
For ice that has already formed, apply de-icer directly to the affected areas. Give the product time to work, breaking the bond between the ice and the surface. In some cases, a second application may be necessary, especially in extreme cold or if the ice is thick.

The effectiveness of de-icers can vary based on temperature and conditions. Monitor the treated areas and reapply as needed, especially during prolonged cold spells. Always aim to use the minimum amount necessary to achieve results, reducing the environmental impact and conserving supplies.
Once the ice has melted, it's important to clean up any residue to prevent damage to surfaces and reduce the risk of the de-icer washing into local waterways. Sweep up unused material and store it properly for future use.
View this post on Instagram
For a wide range of de-icing products that are effective and environmentally friendly, visit Hamilton Builders' Supply. Equip yourself with the right products to tackle winter's challenges head-on!